
How to Photograph the Milky Way for Engagements and Weddings
Six months prior to a wedding I was shooting last fall, the groom approached me about photographing them beneath the Milky Way on their wedding night.
Proceed to me internally panicking but externally saying “Oh yea, I think I can figure that out!” I started my web search but kept coming up short when trying to find how to incorporate people into astrophotography. I turned towards a book that had be given to me called “Night Photography and Light Painting” by Lance Keimig. I realized then I could go at a starry night wedding photo by trying to encompass it all in one shot, my preference, or photograph two shots and photoshop them together.
The next step was to get an actual lens meant for astrophotography. Oh no, how much was this going to cost? Not too bad actually. For under $300, you can grab a used Rokinon 14mm 2.8 lens. For the price point, it is the lens to start with. This bad boy is manual focus and I’ll get into the best way to focus it at night farther down. I use MPB.com often as their used lenses have been exceptional in my experience and they back their products.
Once I had my lens, I took settings from a Milky Way photo I had seen in the book to start with on my first practice night:
ISO 1600 + 25 second exposure + F2.8
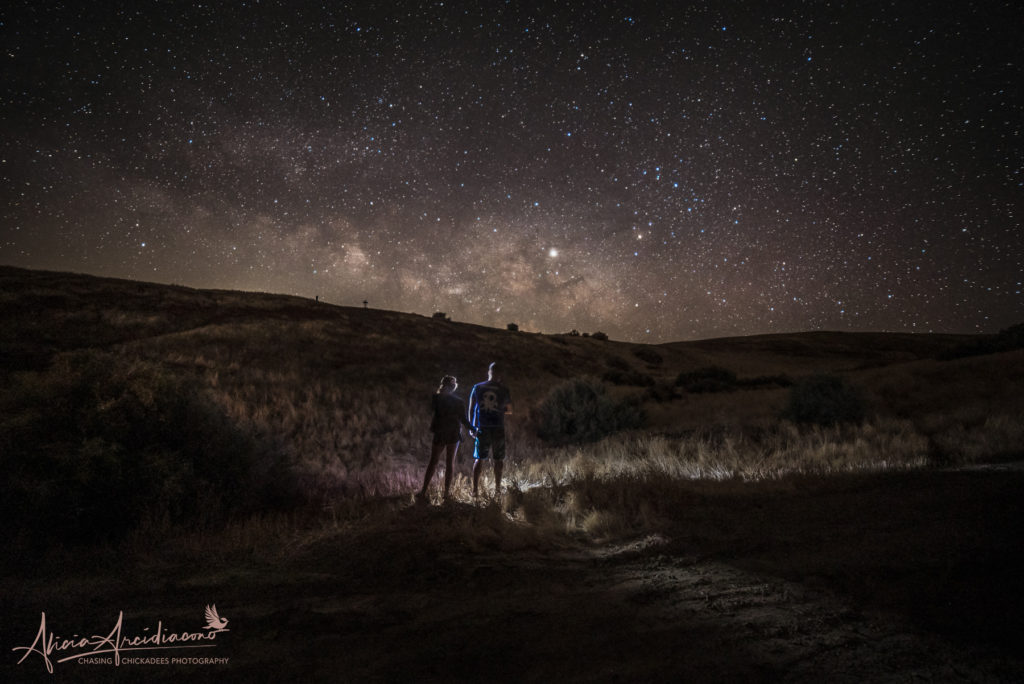
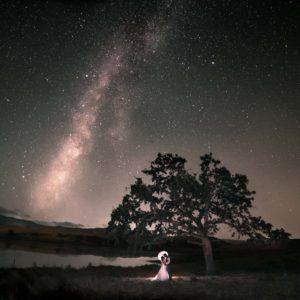
I grabbed my gear, my husband, and packed a bag to head to the local Mercey Hot Springs. We turned my photo excursion into a romantic getaway under the stars in hot springs! I set up the tripod about ten feet from where we would stand—I use the Road Trip by MeFOTO for its ruggedness and portability. I used my Nikon remote to trigger a 2 second delay before starting the 25 second exposure. Keith and I shined our headlamp and 950 lumen bike light—I’m an avid cyclist—in front of us creating a fun backlight and lit path around us.
BOOM, first try:
After that practice round, I went out again armed with two Nikon speedlights. The thing about Nikon speedlights is that are infrared triggered so they WON’T work through objects to trigger each other. This is a no go for weddings where walls and people dancing can block that path. After using Yongnuo receivers on my Nikons for a while, I sold all my flashes and now have four Godox flashes. They use radio transmission so they can talk to each through walls. Hell yes!
Back to those flashes. I set one on my camera and one on a light stand between 2-5 feet behind my subject. My idea was if I could still do a 25 second exposure, but pop some flash from the front and back, I could freeze my subject and still capture the stars. And indeed that idea works.
BOOM, second try:
So, now we’re cooking. I had figured out the general settings and flash setup. What about that pesky manual focus I spoke of earlier? Bust out that bike light and shine it on your subject where they will be standing for the photo. Turn live capture on your camera and zoom in to your subject while blinding them with a light. Now proceed to dial your focus until it looks sharp. Boom, you’re focused!
Okay, but what about finding the Milky Way and planning it for your photo? The answer is an app called PhotoPils. You can actually look at what the night sky will look like from any location and any point in time. Mind blown! I would turn my long runs out on the ranch into scouting adventures. If I saw a spectacular oak, I would walk up to it and plop in September 28th into PhotoPils from where I was standing to see what the sky would look like at night. I could move around to see how the Milky Way would be positioned in relation to the tree.
Side note: The Milky Way’s best viewing occurs July-September in USA and new moon nights are ideal. Also, finding dark areas with little light pollution work best. It’s pretty dark out in San Benito County, California where I am.
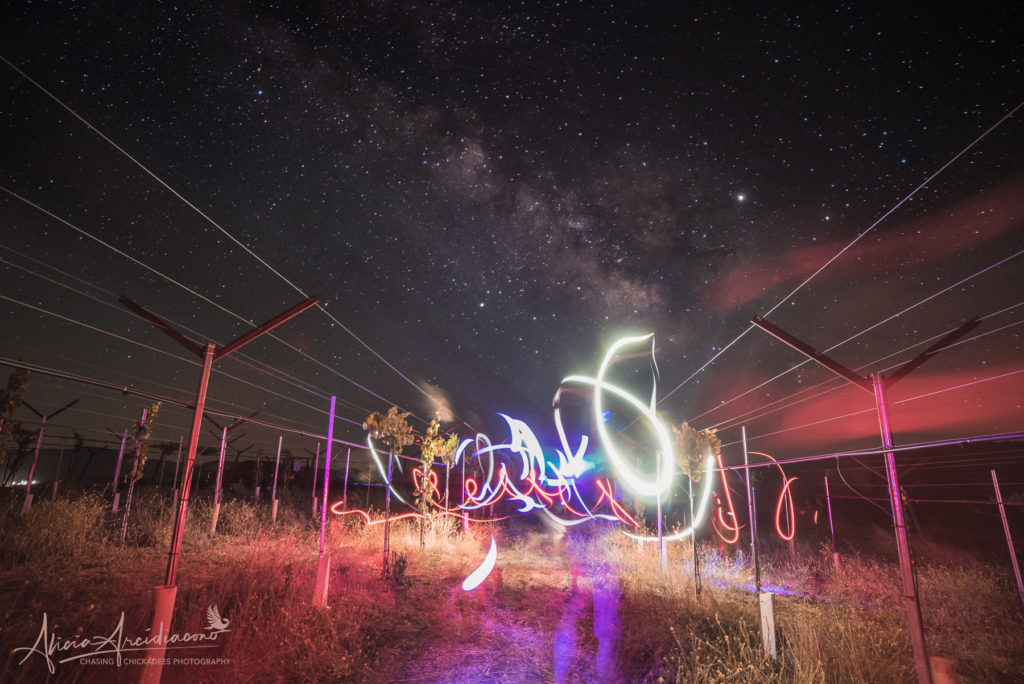
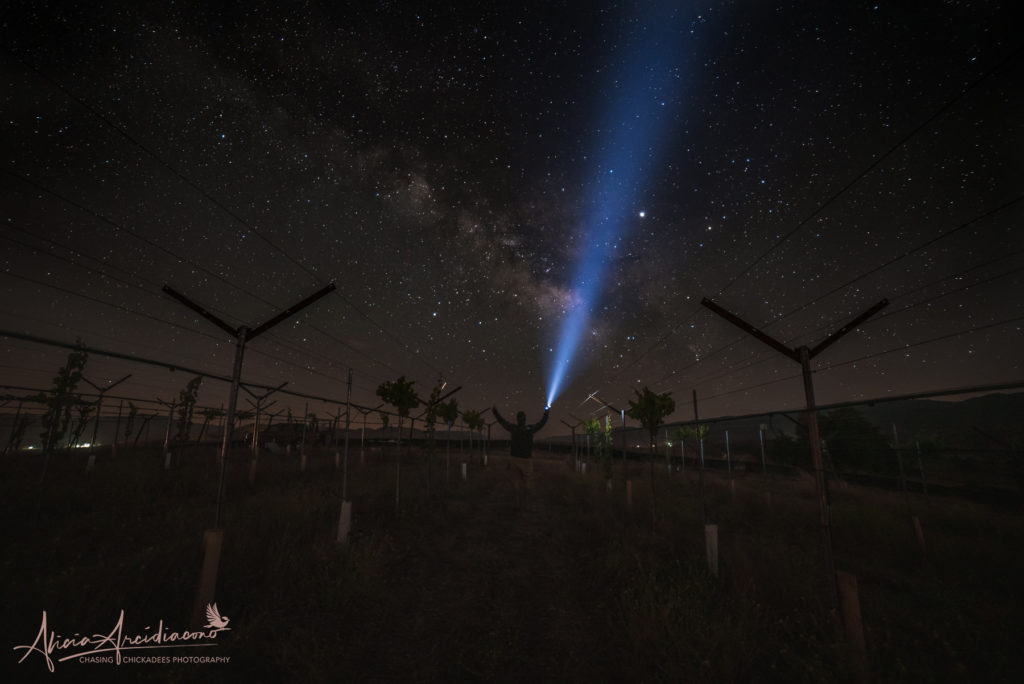
These were an impromptu light painting party at the Paicines Ranch Vineyard:
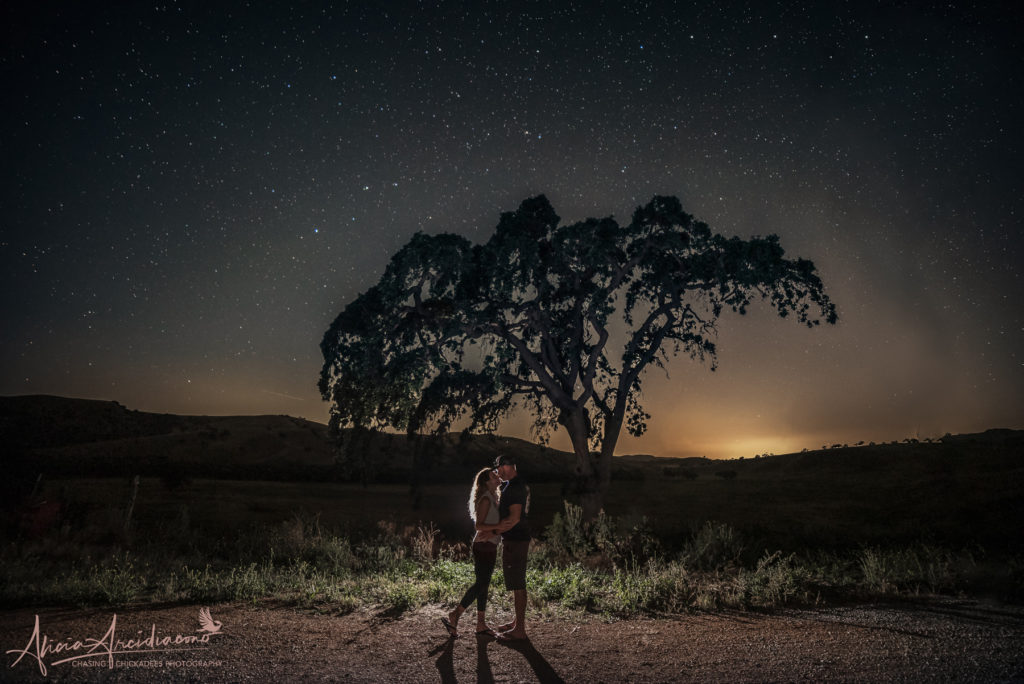
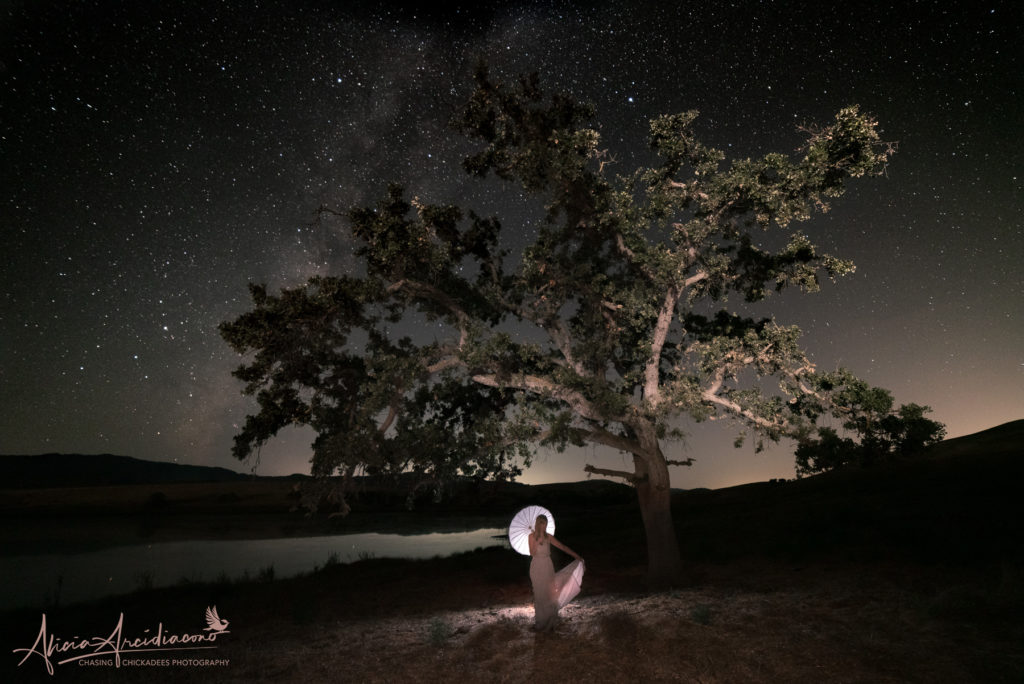
Eventually, I found the perfect Valley Oak for my couple to pose under. With a body of water behind it. It seemed like perfection and PhotoPils helped me pick exactly where I would stand to take the shot.
I grabbed my friend at the Paicines Ranch where I work, and we set out to try out that exact spot. I had her throw on an old bridesmaid dress and grab a parasol. I set up a light 3 feet behind her that gave a power output of about 1/64 and my on camera was set to about 1/32 power while I stood about 9 feet away. I did a second where I stepped farther back and popped 1/32 power output on both flashes for a more dramatic shot. This is what I’d ultimately use for my wedding photo shot.
BOOM, I loved it:
The night of Nathan and Blair’s wedding at Paicines Ranch arrived and every detail was truly spectacular. After a sweet sparkler exit, I whisked them away in my truck out to our reservoir. Keith and I helped our sweet bride get over the poky dried grasses. We had the bride and groom lean into each other and kiss while holding the parasol behind them, just directly in front of that rear light. The result is a spectacular celebration of their love beneath the Milky Way.
Updates:
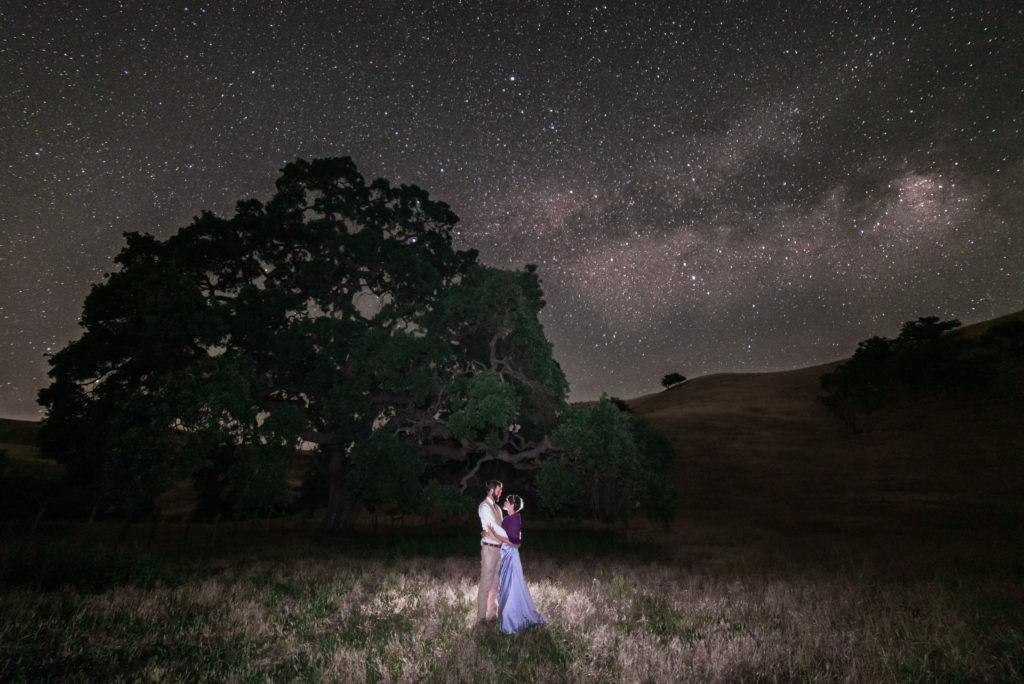
Since my last posts, I experimented with shooting at ISO 2500 and amping up the flash on my camera just a touch. I also placed a grid over my flash which helped control and direct the light towards them. (Future note, I will try a grid on the light behind them to possibly control the spilloff onto the ground, although I do like that look). Here is a photo of the sweetest newlyweds in from of the ancient oak they eloped beneath:
And some editing notes:
In the future, I hope to write a detailed Lightroom editing guide. A few key points is to adjust the white balance as you see fit. Some folks like a more blue-green sky, some a more purple (that’s how I lean). I mask just the sky and create a light edit to increase clarity, sharpness, and bump up whites and blacks to make all the stars pop. You can brush over the Milky Way in Lightroom and add some depth with more clarity, whites, and saturation. I usually then do a little dodging and burning to balance the image out. But that’s it. No Photoshop! That was always my goal, to create ONE image that captured it all.


2 Comments
Wonderful information!! Thank you so much for sharing. I’m in Michigan and have a wedding in Texas coming up. My bride and groom want a photo with the skies/Milky Way. I’ve done long exposure night shots before and they look good, but I’ll definitely be practicing for this really special wedding night image! =)
I’m so happy my post could be helpful. It’s a really fun and creative style of photography, and I love how it makes me really slow down from my normal day shoots. Feel free to ask me any questions you might have! Beautiful work btw!